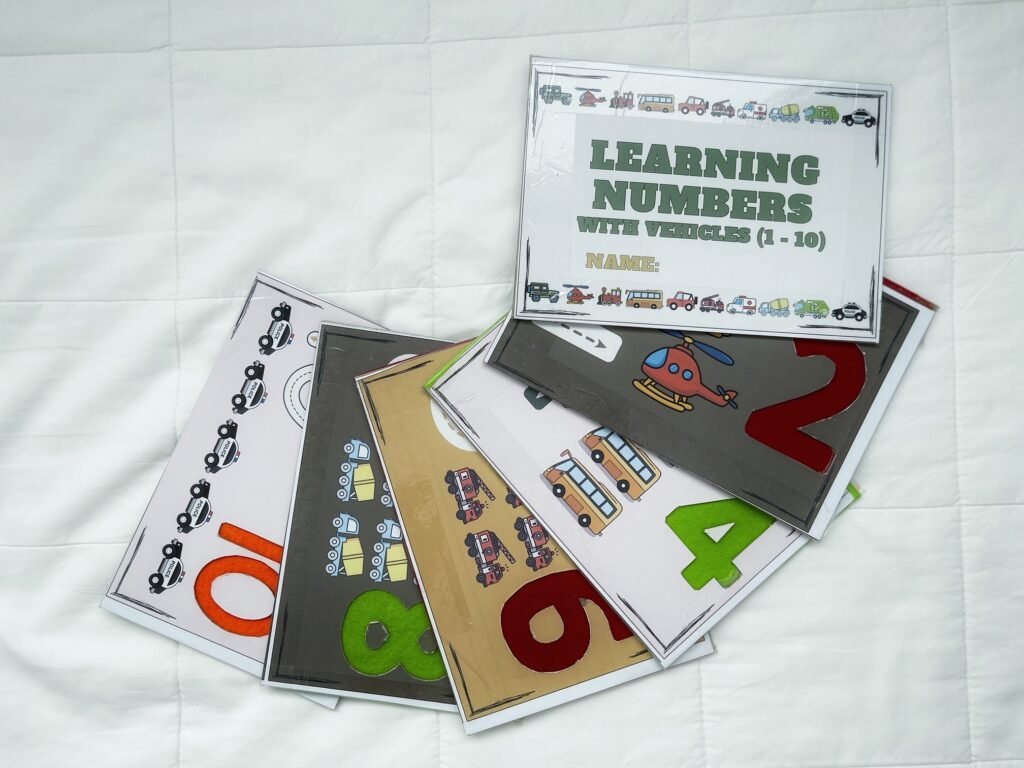
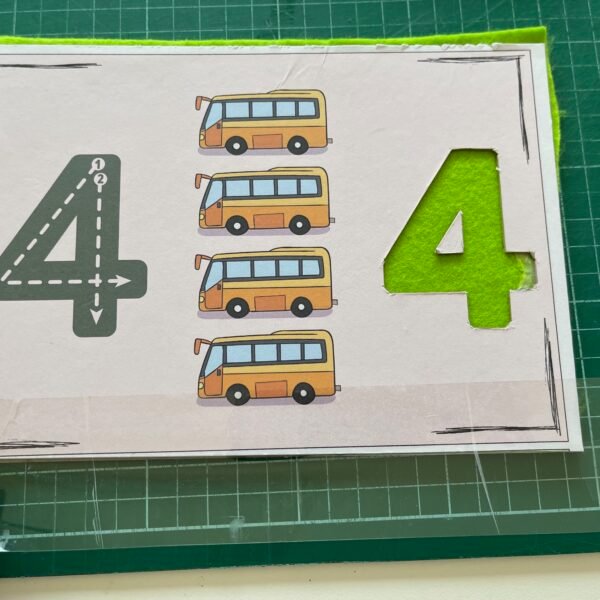
Create DIY handmade sensory felt number cards for your kids to learn Math in a fun and engaging way. This easy, step-by-step educational craft tutorial teaches you how to make number cards featuring favourite vehicles. It is perfect for preschool learning activities, early math skill development and vehicle-loving kids.
Why sensory felt number cards:
My almost 3-year-old son has recently shown interest in learning numbers. He is beginning to develop the concepts of linking numbers with objects. To build on his natural curiosity, I decided to create sensory felt number cards with his favourite vehicles.
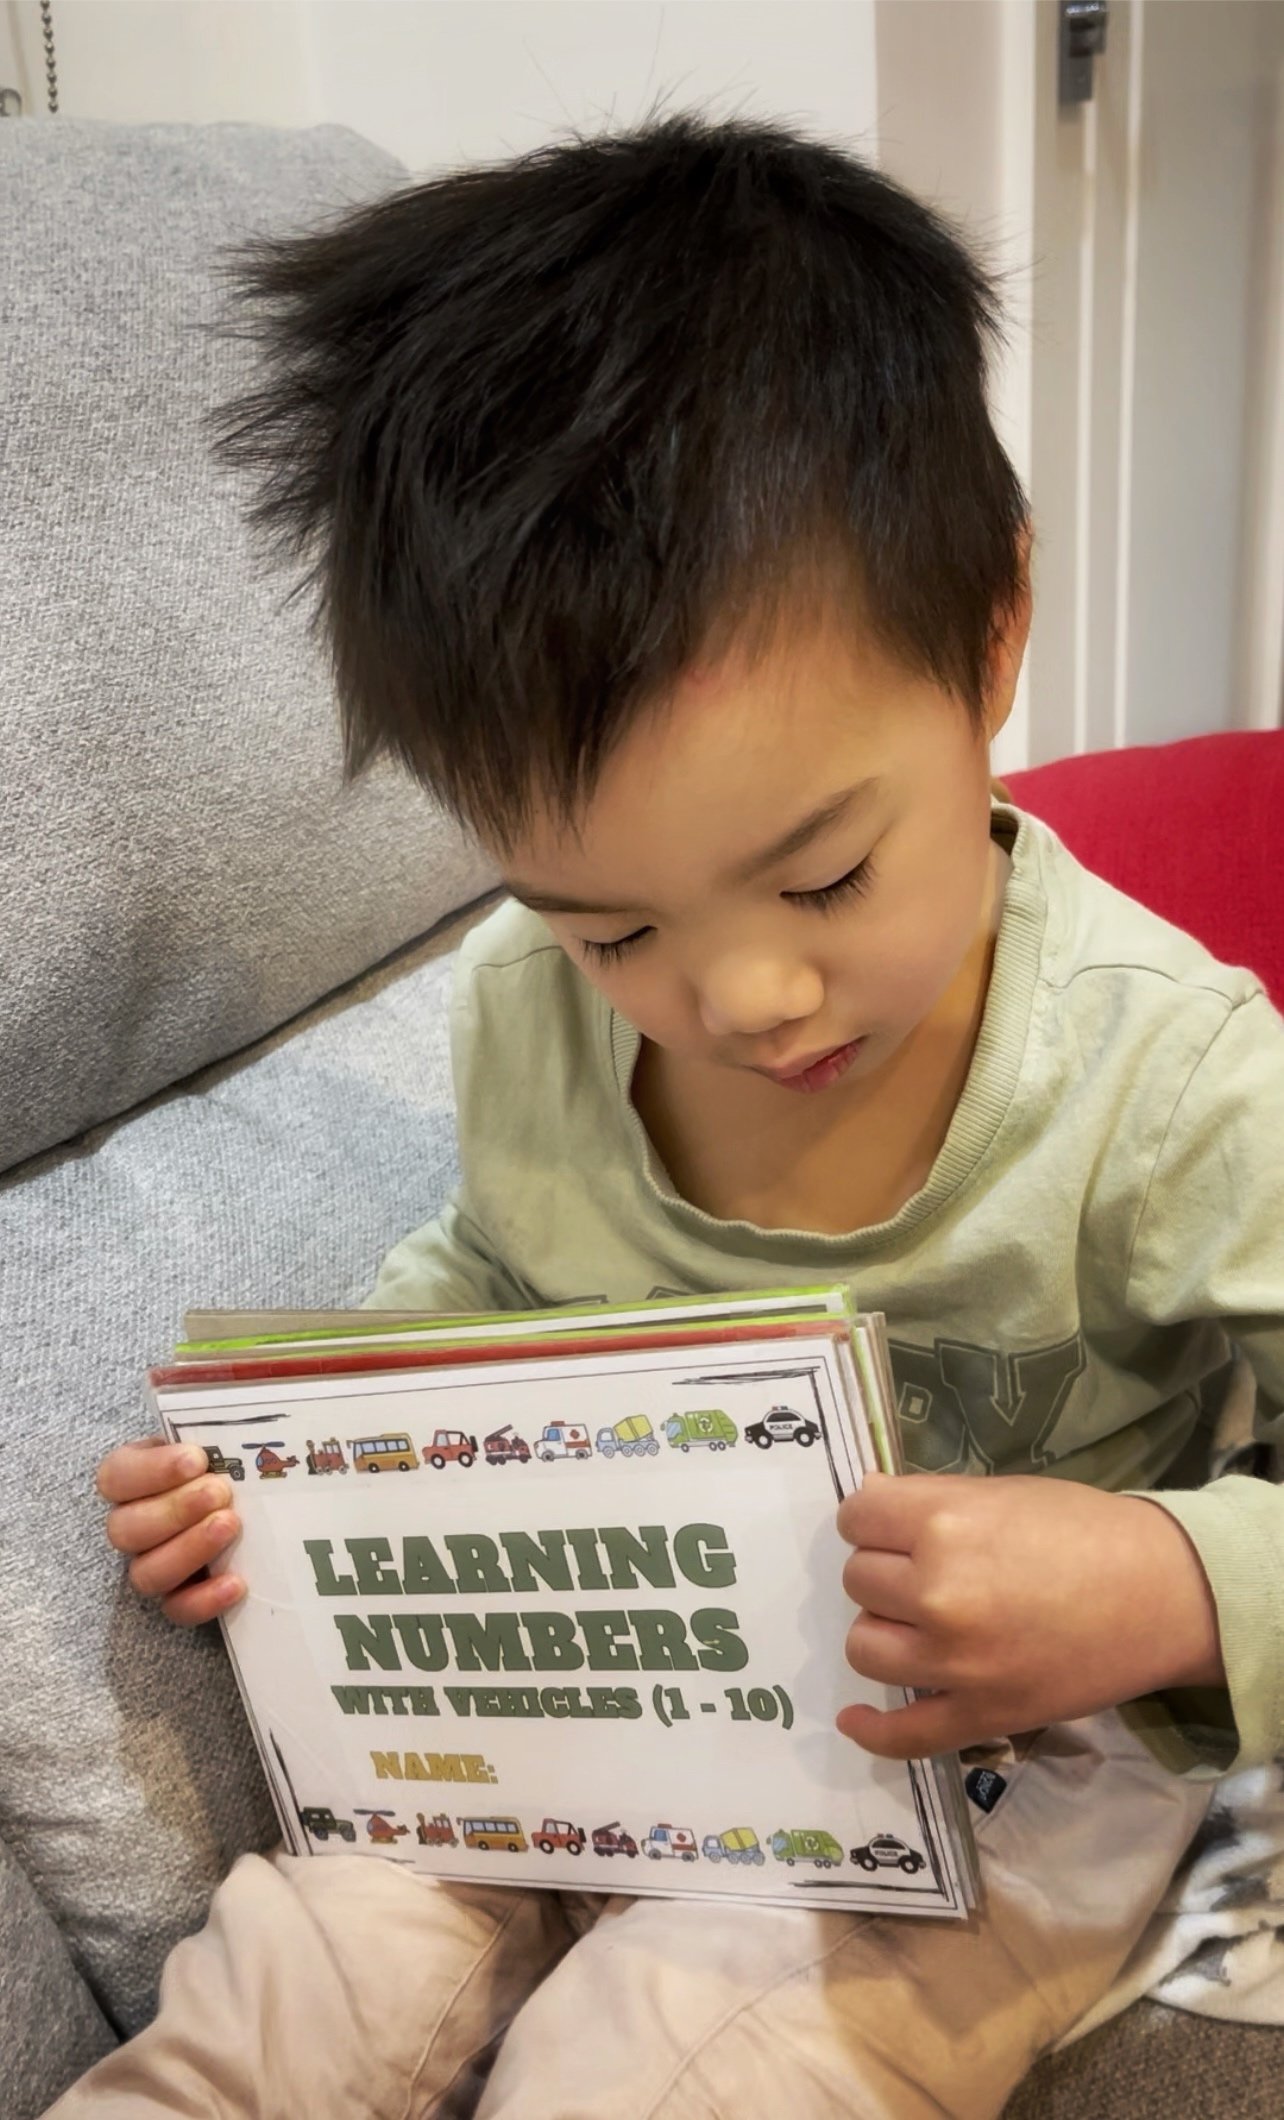
The DIY sensory felt number cards are not just a learning tool, they are also an experience that Xavier can play with while learning numbers. The textured numbers on the cards invite him to touch and explore, stimulating his imagination as he pictures vehicles running on the felt. The cards are durable and can be used in various learning games and activities, making them a versatile addition to any pre-schooler’s learning routine.
Materials:
- Felt sheet (various colours)
- Cardboard (for backing)
- Glue stick
- Double-sided tape / hot glue gun. (I recommend double-sided tape, find out why below.)
- Clear wide sticky tape (to protect edges)
- Cutting mat (for precision cutting)
- Cutter (for detailed work)
- Scissor
Step-by-step instructions:
1. Design and print
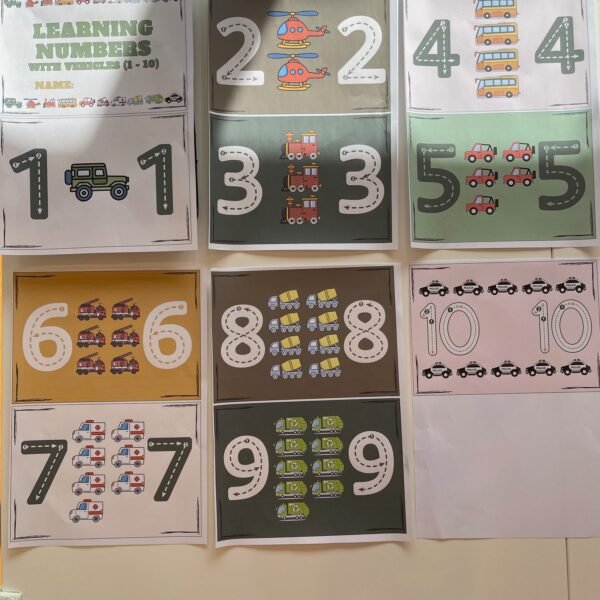
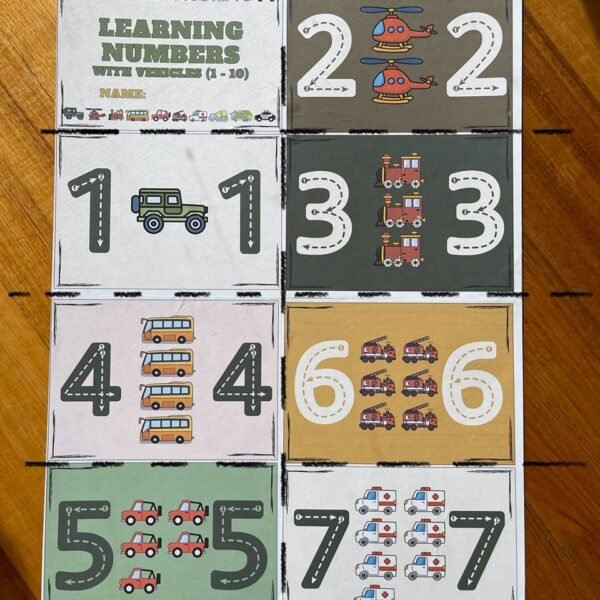
Design your own template, or feel free to download my free printable PDF template. Print these designs on A4 paper.
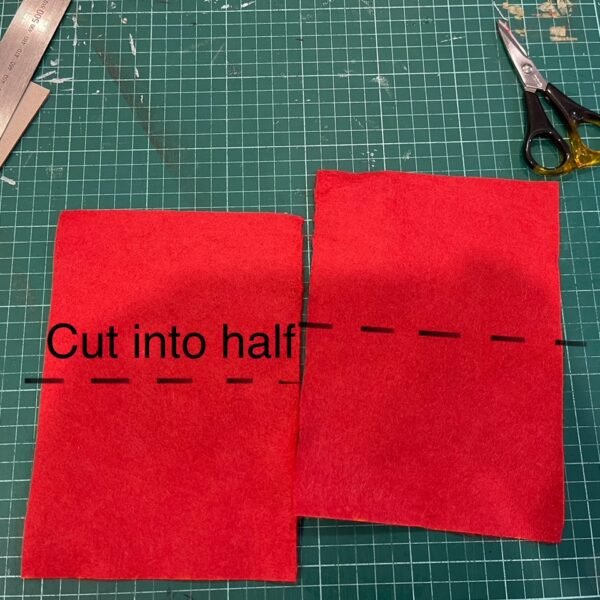
2. Prepare felt sheet
Cut the A4 felt sheet into half to create A5 size felt sheet, which will be used as the backing for the cards.
3. Glue to cardboard
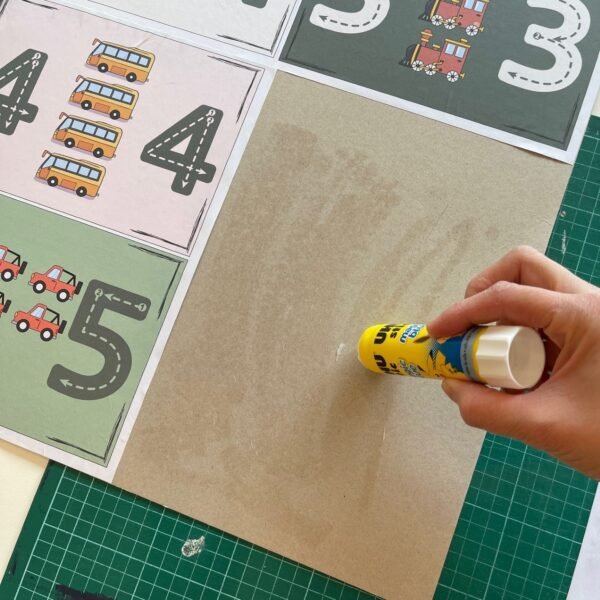
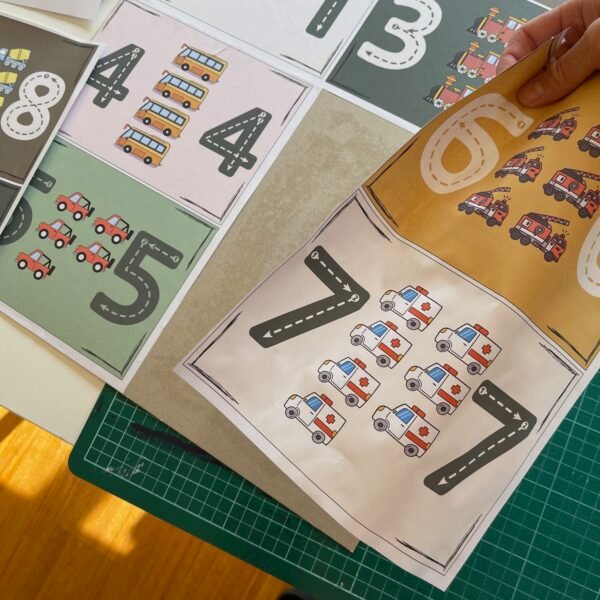
Attach all printed A4 paper from step 1 on cardboard using a glue stick.
4. Cut out cards and numbers
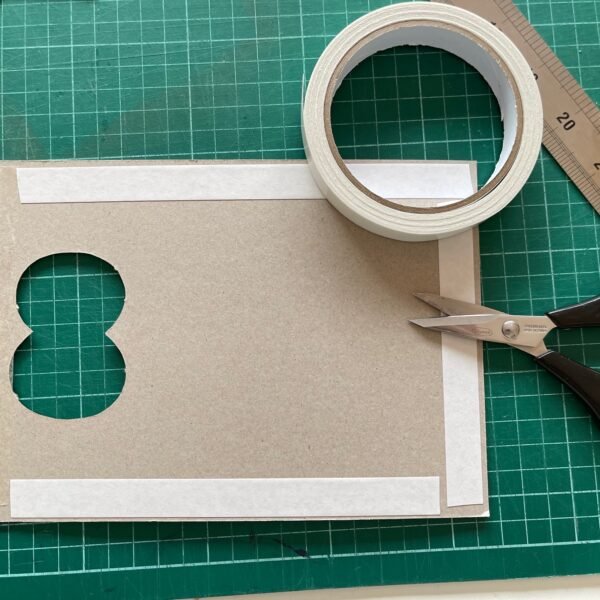
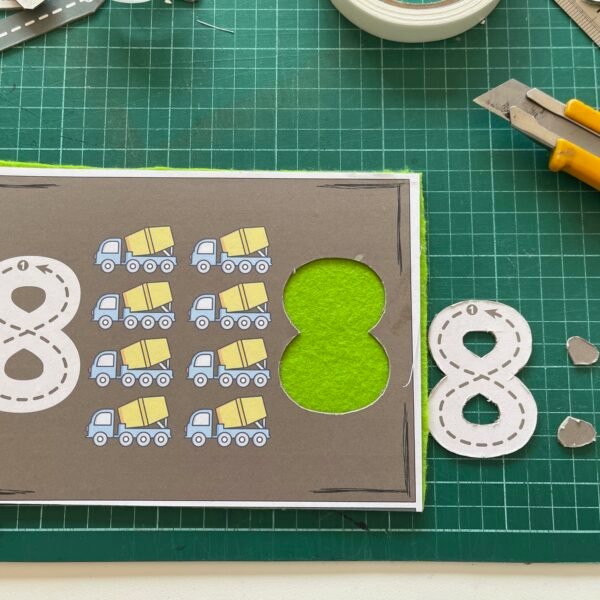
Cut the A4 paper (from step 3) into half to create A 5 size cards. Carefully cut out the number on the right. Save these numbers for later.
5. Assemble felt sheet to number cardboard
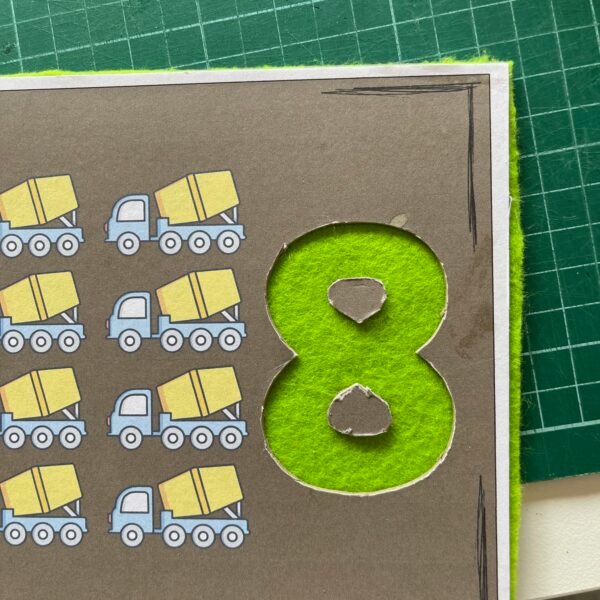
Apply double-sided tape on the back of the cardboard. Attach A5 felt sheet (from step 2) to the back of the cardboard. Sandwich the felt sheet between 2 layers of A5 cardboards (from step 4).
Tip: I initially tried using a hot glue gun, but I was not fast enough and the hot glue dried too quickly, making it difficult to work with. Double-sided tape works better in this project.
6. Cut remaining parts and stick
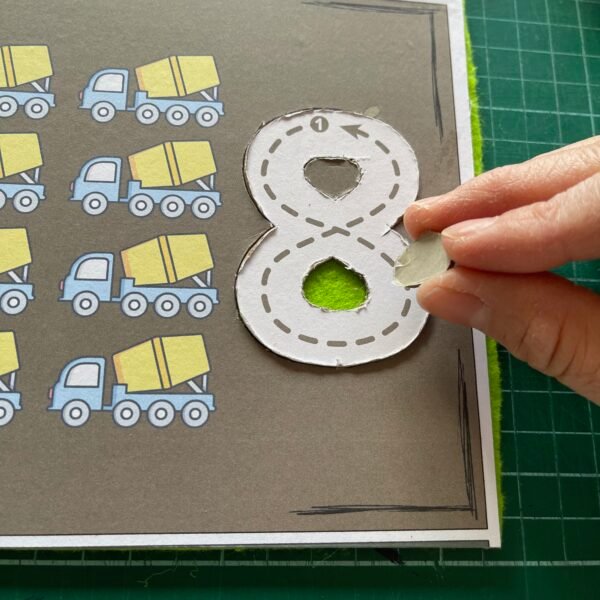
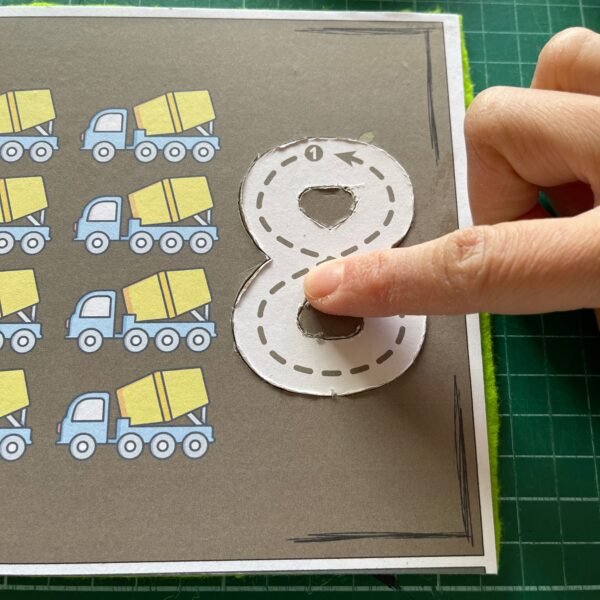
Cut the remaining small parts of numbers (from step 4) and attach them to the felt sheet with double-sided tape to form correct number.
7. Protect the edges
Lastly, to ensure the cards are safe for little fingers, I use wide tape to cover all edges of the number cards. This also increases the durability of the cards.
8. Optional: add different texture
Enhance the sensory experience by adding different texture like small buttons to the felt sheets. This will make the cards more interesting and engaging for your child.
Fun and Educational Ways to Use Sensory Felt Number Cards:
- Number Tracing: Writes numbers on the left side of the card and have your child follows your movement to trace the textured number on the right.
- Counting Vehicles: Count the numbers of vehicles together to reinforce number recognition.
- Pick A Card: Have your child to close their eyes and randomly pick a card, open eyes and read the number instantly.
- Tactile Learning: Close your eyes and feel the textured number, try to guess the number based on touch.
- Puzzle Play: Separate the numbers on left from the card and make them a puzzle. Challenge your child to assembly them correctly.
Educational Benefits of Sensory Felt Number Cards:
- Improve number recognition with tactile experience
- Sensory stimulation with sense of touch
- Creative play through imagination
- Vocabulary development about types of vehicles, numbers and textures.
DIY sensory felt number cards is simple and fun. The cards can be part of your daily routine, making math learning fun and interactive through play. It will surely be a hit for your little one. Enjoy!
Email Marketing


